Before attempting any radiator repair, assess damage and check fluid levels. Assemble a toolkit with essentials like wrenches, screwdrivers, pliers, gasket, sealer, antifreeze, and safety gear. Locate and safely remove the radiator, disconnecting hoses as needed. Decide to repair or replace based on damage severity. Reinstall, test, and monitor temperature after repairs. Regularly maintain your cooling system to prevent future radiator repair service needs.
Learn how to fix a broken radiator yourself with our step-by-step guide. Assess the damage, gather the necessary tools and parts, and follow our detailed disassembly process. Decide whether to repair or replace your radiator, then reinstall and test it properly. Finally, discover maintenance tips to prevent future issues from arising. Skip the costly radiator repair service and take control of your vehicle’s heating system today!
- Assess the Damage: Inspecting Your Broken Radiator
- Gather Tools and Parts: What You'll Need for Repair
- Remove the Radiator: Step-by-Step Disassembly Process
- Repair or Replace: Deciding on a Solution
- Reinstall and Test: Putting Your Radiator Back Together
- Prevent Future Issues: Regular Maintenance Tips
Assess the Damage: Inspecting Your Broken Radiator
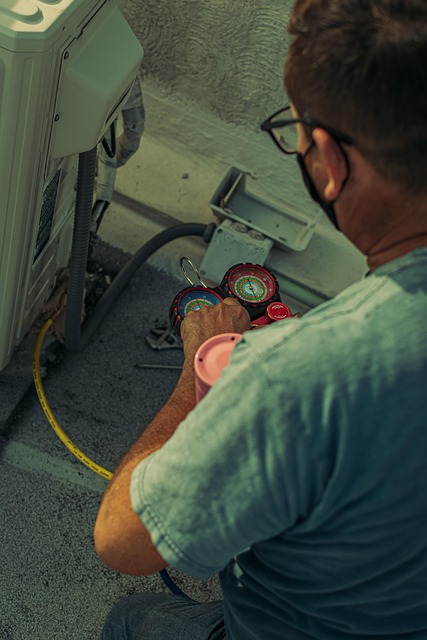
Before attempting any radiator repair yourself, it’s crucial to assess the extent of the damage. Start by inspecting the visible components for cracks or leaks. A leaky radiator can be a serious issue, not only causing potential damage to other car parts but also requiring a thorough clean-up. If you suspect an old car radiator repair is needed due to severe damage, consider seeking professional assistance from a reliable radiator repair service.
Pay close attention to the fluid levels and check for any signs of corrosion or damage to the radiators’ core. Often, a simple problem like a low radiator fluid top-up can be mistaken for a more complex issue. Properly identifying the problem is essential before proceeding with any DIY efforts or scheduling an old car radiator repair appointment.
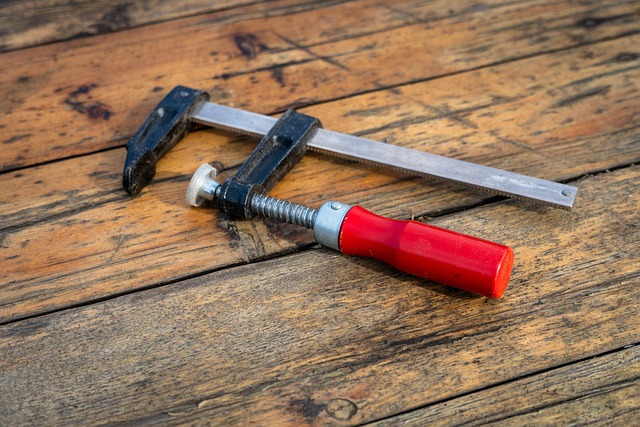
Gather Tools and Parts: What You'll Need for Repair
Before diving into the repair process, ensure you have all the necessary tools and parts to fix your broken radiator. This DIY project requires specific items tailored to the task at hand. Gather a set of wrenches (both open-end and socket) for removing and tightening connections, a screwdriver for accessing tight spots, and possibly a plier for handling small components. For the actual repair, you’ll need a new radiator gasket, a can of radiator sealer for cracks, and replacement antifreeze if required. A good set of safety glasses and gloves are also essential to protect yourself from any debris or chemicals during the process. Remember, having these tools and parts ready is crucial in successfully repairing your radiator and preventing further car overheating issues.
Additionally, consider acquiring a repair manual specific to your vehicle model for step-by-step guidance tailored to your make and year. This resource can be invaluable, offering insights into unique challenges and providing troubleshooting tips if any complications arise during the radiator repair service. With these essentials in hand, you’re well on your way to tackling the issue head-on and finding effective overheating car solutions.
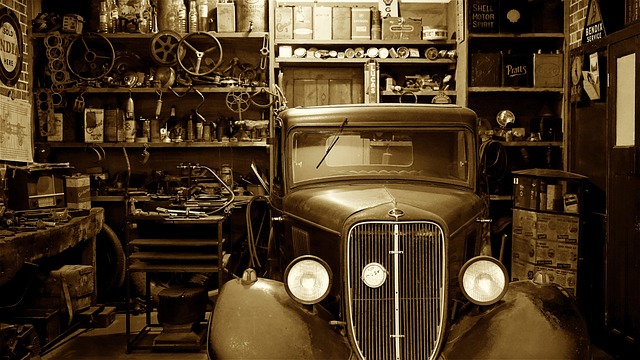
Remove the Radiator: Step-by-Step Disassembly Process
To begin fixing a broken radiator yourself, it’s crucial to understand how to safely and efficiently remove the radiator for repairs. Start by locating the radiator, typically found in the engine compartment of your vehicle. Next, gather the necessary tools including wrenches, sockets, and any special adapters needed for your specific model.
With safety in mind – remember to park on a level surface, engage the parking brake, and ensure the engine is cool to the touch – locate the bolts securing the radiator in place. Using the correct size socket and wrench, carefully loosen and remove each bolt one at a time. As you do so, support the radiator with an appropriate tool to prevent it from falling and causing damage or injury. Once all bolts are removed, gently pull the radiator out of its housing. This step may involve disconnecting any hoses or electrical connectors attached to the radiator, requiring clear instructions found in your vehicle’s manual or through a reliable radiator repair service.
Repair or Replace: Deciding on a Solution
When dealing with a broken radiator, one of the initial decisions to make is whether to repair or replace it. This choice often depends on several factors. If the damage is minimal, such as a cracked radiator hose or a small leak, a simple radiator hose replacement might be all that’s needed. In many cases, this can be done by a plumber Bromsgrove and could extend the life of your existing unit.
However, if the damage is extensive, including severe corrosion, a cracked or burst tank, or significant performance issues, it might be more practical and cost-effective to consider a full radiator repair service. While replacing an old radiator may seem like a bigger undertaking, it can be a smart investment in the long run, ensuring your heating system operates efficiently and safely.
Reinstall and Test: Putting Your Radiator Back Together
Once your radiator is fully repaired and all parts are back in place, it’s time to reinstall and thoroughly test your work. Begin by securing any hardware with the appropriate fasteners, ensuring everything is tight and stable. Then, carefully fill the radiator with coolant, following the manufacturer’s guidelines for the correct type and amount. Start the engine and let it run for a while, checking for any leaks along the way. Observe the temperature gauge to ensure that the cooling system is functioning optimally. If all seems well, your DIY radiator replacement and subsequent repairs have been successful in resolving those pesky auto cooling issues. Effective cooling system maintenance is key to keeping your vehicle running smoothly, so remember to schedule regular checks to prevent future problems.
Prevent Future Issues: Regular Maintenance Tips
Regular maintenance is key to preventing future radiator issues and keeping your car running smoothly. One simple step is to check the radiator’s pressure regularly, as a radiator repair service often deals with problems stemming from excessive pressure. Keep an eye on any unusual noises or signs of overheating, as these could indicate a leak or blockage in the system. Topping up the coolant level and ensuring it’s at the correct mark is another easy task that can prevent your car’s engine from overworking itself.
Additionally, cleaning the radiator regularly can help maintain optimal performance. Over time, debris and dirt can accumulate, hindering heat dissipation. A thorough clean will ensure your car’s cooling system operates efficiently, preventing a car radiator not working scenario. Remember, a well-maintained radiator is less likely to require urgent radiator repair service calls, keeping your vehicle in top condition and on the road for longer.
Repairing a broken radiator can be a rewarding DIY project, saving you time and money. With the right tools, knowledge from this guide, and a bit of patience, you can tackle the job confidently. Remember, while these steps cover basic repairs, severe damage might require professional assistance from a reliable radiator repair service. Regular maintenance, as highlighted in our prevention tips, will help extend the life of your heating system, ensuring comfort and efficiency for years to come.