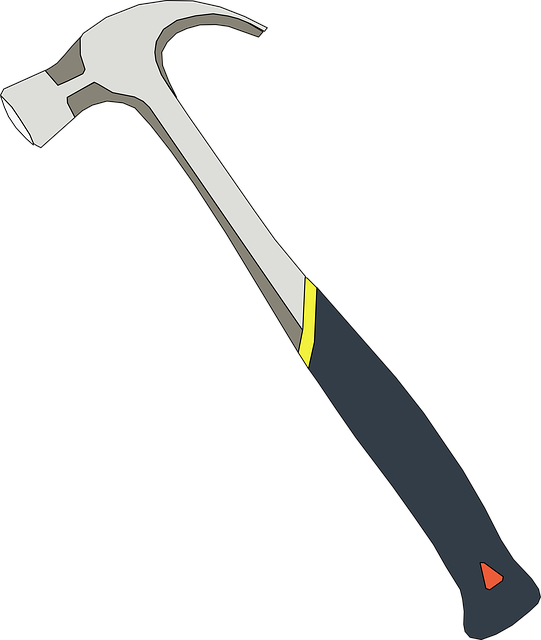
Visual inspect radiators for damage, consider timing and location clues. Disassemble, inspect thoroughly for cracks or corrosion. Address issues promptly for optimal car performance. Reassemble, test with water, and consult professionals for complex repairs.
“Discover how to tackle a leaky radiator with our step-by-step guide. Often, a simple fix can save you from costly repairs and keep your home comfortable. This article navigates through the process of diagnosing and repairing common radiator leaks, focusing on the key areas: Assessing the leak, disassembling and fixing the part, and reassembling for optimal performance. Whether you’re a DIY enthusiast or considering a professional radiator repair service, these tips ensure success.”
- Assessing the Leak: Identifying the Source
- Disassembling and Repairing the Radiator
- Reassembly and Testing for Success
Assessing the Leak: Identifying the Source

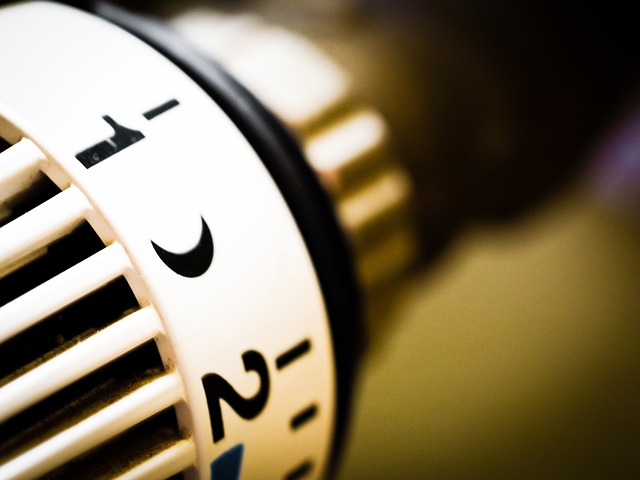
When dealing with a leaking radiator, the first step is to assess and identify the source of the leak. This involves careful observation and some basic troubleshooting. Start by visually inspecting the radiator for any visible signs of damage, cracks, or loose connections. Radiator repair services often recommend checking the hoses for wear and tear, as well as the radiator cap, which could be causing the leak. If you notice any corrosion or damage to these components, it might be an indication that a replacement is needed.
Additionally, consider when and where the leak occurs. An overheating engine can lead to leaks, so if your car has been experiencing overheat warnings, this could be a crucial clue. Old car radiator repair often involves dealing with age-related issues like corrosion or worn-out seals. How to repair a radiator effectively requires identifying these sources to prevent further damage and ensure the longevity of your vehicle’s cooling system.
Disassembling and Repairing the Radiator
When addressing a leaking radiator, disassembling and repairing it is often the most effective solution. Start by draining the radiator to remove all fluid, then carefully take apart the components – this may include the top tank, bottom tank, and core. Inspect each part for cracks or corrosion, especially around the joints where leaks commonly occur. Replace any damaged parts using a quality radiator repair service.
Identifying the source of the leak is crucial. The culprit could be a worn-out hose, a faulty thermostat for radiator control, or a problem with the car’s cooling system. Once found, addressing what causes radiator leak is key to preventing future issues. Remember, if your car isn’t cooling down effectively, don’t ignore it; prompt action can save you from more serious engine problems down the line.
Reassembly and Testing for Success
After successfully replacing the leaky parts, it’s time to reassemble your radiator and conduct thorough testing to ensure the job is done right. Start by securing all the components back in place, making sure every joint is tight and secure. Double-check that the new or replaced parts are fitted correctly, as any misalignment could lead to future leaks. Once reassembled, fill the radiator with water, ensuring it reaches the recommended level, and start up your vehicle. Let it run for a while to check for any signs of leaks, both internally and externally. If all seems well, you’ve successfully fixed your leaking radiator. Testing is key to ensuring the longevity of your repairs and peace of mind on the road.
Remember, if you’re considering a more complex repair, like replacing your radiator with an AC unit or looking into a new radiator cap, consult a professional radiator repair service. While replacing a radiator can be a cost-effective solution, the price might vary based on the make and model of your vehicle. Therefore, understanding the repair costs beforehand is essential for budgeting purposes.
Fixing a leaking radiator can seem daunting, but with the right steps, it’s a manageable task. By first identifying the source of the leak through careful assessment, then disassembling and repairing the components as needed, you can restore your radiator to its optimal condition. Finally, reassembling and testing ensures the job is done correctly. With these simple steps, you can avoid costly calls to a radiator repair service and extend the life of your heating system.