
Overheating car symptoms like coolant loss and steam indicate a blown radiator gasket, requiring immediate professional repair to prevent engine damage. Prepare safely, seek expert guidance, and use local radiator repair services for accurate diagnostics and reliable replacements. After replacement, test and inspect the cooling system, maintaining regular maintenance for future prevention.
“Learn how to identify and fix a blown radiator gasket with our comprehensive guide. Recognize symptoms such as overheating, coolant leaks, or steam from under the hood. Prepare for safe and effective repair by gathering essential tools and materials. Follow step-by-step instructions to remove and replace the gasket. After repair, test and maintain your vehicle’s cooling system for optimal performance. For professional radiator repair services, trust our expert tips and ensure your car stays cool and reliable.”
- Recognize Symptoms of a Blown Radiator Gasket
- Prepare for Safe and Effective Repair
- Remove and Replace the Gasket Step-by-Step
- Test and Maintain Your Vehicle's Cooling System Post-Repair
Recognize Symptoms of a Blown Radiator Gasket
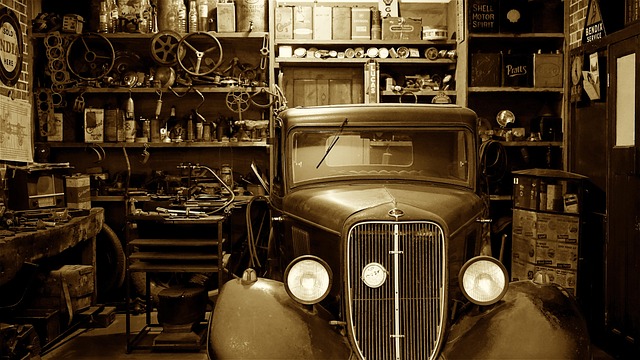
If your car is experiencing overheating issues, it might be a sign of a blown radiator gasket. This problem can cause a significant leak in the cooling system, leading to a variety of symptoms. One of the most common indicators is excessive coolant loss; check the level regularly and top it up as needed. You may also notice steam emerging from under the hood or a hissing sound coming from the engine bay, indicating a leaky radiator solution.
Another visible sign is the presence of moisture or dirt on the lower part of the front grill, which can be a result of coolant leaking out. When to replace radiator becomes a concern if these issues persist. A professional radiator repair service might be required if the damage is extensive. Remember, ignoring these symptoms could lead to more serious engine problems, so it’s crucial to address them promptly, especially when considering the replace radiator in car as a potential solution.
Prepare for Safe and Effective Repair
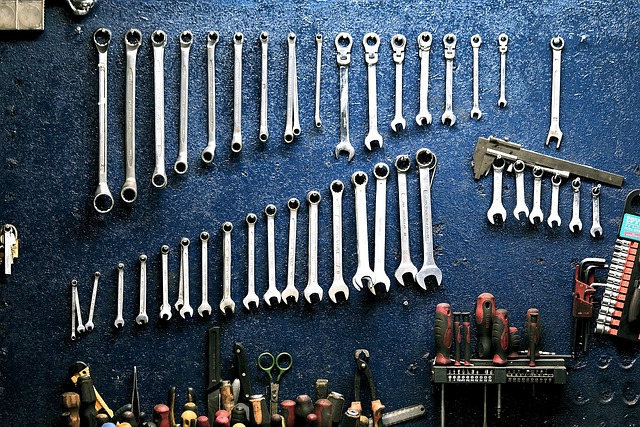
Before tackling a radiator gasket replacement yourself, it’s crucial to prepare for safe and effective repair. This involves gathering the necessary tools, including a new gasket, coolant, and possibly a heat gun or hair dryer for safely removing the old one. Ensure proper ventilation in your work area due to the toxic nature of some coolants. Safety gear, such as gloves and safety glasses, is also essential. Consider seeking guidance from an experienced mechanic or auto radiator specialists if you’re unsure about any step to avoid costly mistakes and potential damage to your vehicle.
Trustworthy radiator service professionals like those found in Bromsgrove are equipped with the right knowledge and tools for efficient repair. They can diagnose issues accurately, ensuring that only necessary replacements are made. This not only saves you time but also prevents further damage. A reputable mechanic will follow best practices to ensure a lasting fix, guaranteeing your vehicle’s optimal performance and safety on the road.
Remove and Replace the Gasket Step-by-Step

Removing and replacing a blown radiator gasket is a necessary task for any car owner to undertake. It’s not as complex as it seems, but precision is key. Start by allowing the engine to cool down completely before beginning the process. Next, locate the radiator in your vehicle – typically at the front of the engine bay – and identify the gasket attached to it. Use a wrench or socket to carefully loosen and remove any bolts securing the radiator in place, being mindful not to damage surrounding components. Once the radiator is free, you’ll need to extract the old gasket with care. This may require some persistence due to its delicate nature.
After removing the damaged gasket, obtain a replacement from a local radiator shop or auto radiator specialists. Ensure it’s the correct size and fit for your vehicle. Position the new gasket onto the radiator and ensure all edges align properly with the surface. Apply a thin layer of high-quality sealant around the edges as per the manufacturer’s instructions. Reattach the radiator, tightening the bolts securely but gently to avoid over-tightening. The job is now complete, ready for a plumber Bromsgrove or local radiator repair service to verify its effectiveness and ensure your vehicle’s cooling system functions optimally.
Test and Maintain Your Vehicle's Cooling System Post-Repair
After successfully identifying and fixing a blown radiator gasket, it’s crucial to ensure your vehicle’s cooling system is in optimal condition. The first step involves testing the system thoroughly. Check for any leaks using a pressure gauge and visually inspect all components for damage or wear. A professional radiator repair service can also perform advanced diagnostic tests to verify the system’s integrity.
Regular maintenance is key to preventing future issues. This includes scheduling periodic cooling system flushes to remove debris and ensure optimal performance. Additionally, keep an eye on your vehicle’s temperature gauge and address any abnormal readings promptly. The right tools, such as those needed for a DIY car cooling system repair, will be invaluable in this process, allowing you to stay ahead of potential problems that could arise from a compromised radiator or cooling system.
A blown radiator gasket can cause significant damage if left unattended, leading to costly engine overheat situations. By recognizing symptoms early, preparing with the right tools and knowledge, and following a meticulous replacement process, you can effectively fix the issue yourself or engage a reliable radiator repair service. After the repair, remember to test and maintain your vehicle’s cooling system to ensure optimal performance and longevity. With these steps, you’ll be well on your way to avoiding future engine-related headaches.